Background
In May 2015, Yproximité dropped its “spend 1/2 a day installing everything locally by hand” model in favor of a virtual machine provisioned with Ansible playbooks, so that a single command would get the development environment up and running within a few minutes.
To run our Symfony projects, you had to install:
- Make, to run the commands
- VirtualBox, for the VM
- Vagrant, to drive the VM
- Vagrant Landrush, a DNS server to reach the development URLs
- mkcert, to generate the local TLS certificate
All you then had to do was run make setup in your terminal: about twenty minutes later, the project was fully up and running, the database data imported and the whole team on the same minor versions of PHP, Nginx and PostgreSQL.
❤️ I’d like to take this opportunity to thank the contributors to manala.io, a project run by my former web agency, Elao, and especially Nervo, who maintains the various Ansible roles. Thank you for your open source contributions, and for keeping our development setup running for 6 years.
Fast forward to 2021. What pushed me to plan a new development setup and walk away from the virtual machine (VM) model?
Why move away from virtual machines?
Several arguments made the case for dropping VMs:
- Docker keeps maturing and is well adopted by the web community for development environments.
- Performance lags a little behind a local install of the project (especially on Linux, if my team is to be believed).
- The size of the virtual machines (count on several GB per project).
Even so, I was very reluctant to adopt a development setup based solely on Docker. With a small team and no particular Docker expertise (especially on the macOS vs Linux performance issues), that choice is a risky one for the stability of the development environment, which is there to help developers be as productive as possible, not to frustrate them or slow them down.
I knew VMs would soon be shown the door, but was that enough to set a deadline for moving to something else? To plan training? To move our dozens of projects to a new, Docker-based development environment? Not quite…
What finally tipped the scales towards “something else” was a low-key announcement from the VirtualBox team saying they can’t technically port VirtualBox to ARM processors. VirtualBox, which runs the VMs, is a hypervisor, not a CPU emulator, so it can’t emulate an x86 processor.
Why is that a problem? Well, you may have missed Apple’s announcement of its plan to move to the ARM architecture within roughly 2 years, starting with its “M1” chip (which packs a serious punch) in the 13-inch MacBook Pro, the MacBook Air and the Mac Mini. Given the extremely positive feedback from users, the company even seems to have sped up the rollout of the new ARM architecture, announcing the 24-inch iMac and the iPad Pro with the M1 chip just a few days ago. On the consumer side, only the 16-inch MacBook Pro and the 27-inch iMac have yet to make the jump.
I can see the Apple trolls coming from a mile away, but in my team I’ve always made a point of giving developers the choice between Linux and macOS (see the OS breakdown in the AFUP survey of French PHP developers). So please redirect the trolling to the only ones who deserve it: PHP/JS devs on Windows.
A Docker-powered solution, but not just Docker!
Given my company and my team, a Docker-only solution is a non-starter until the performance problem on Mac is fixed for good, or as long as it takes a Docker/Linux expert to implement it.
So I chose to push for a hybrid solution that avoids shared volumes (and with them, the performance problems). If I remember SymfonyLive correctly, that’s also what Fabien Potencier went for.
On the host machine (macOS/Linux):
- PHP and Composer
- NodeJS
- Docker Desktop
- Symfony CLI. It provides a web server with TLS handling, Docker support and per-project PHP versions.
- The Manala binary (it generates your
docker-compose.yamlfrom a template; see going further)
⚠ For all its benefits, Symfony CLI is not open source. Worth keeping in mind, especially if you rely on it for your development setup.
In Docker:
- Database (MySQL, PostgreSQL, MariaDB…)
- Redis server
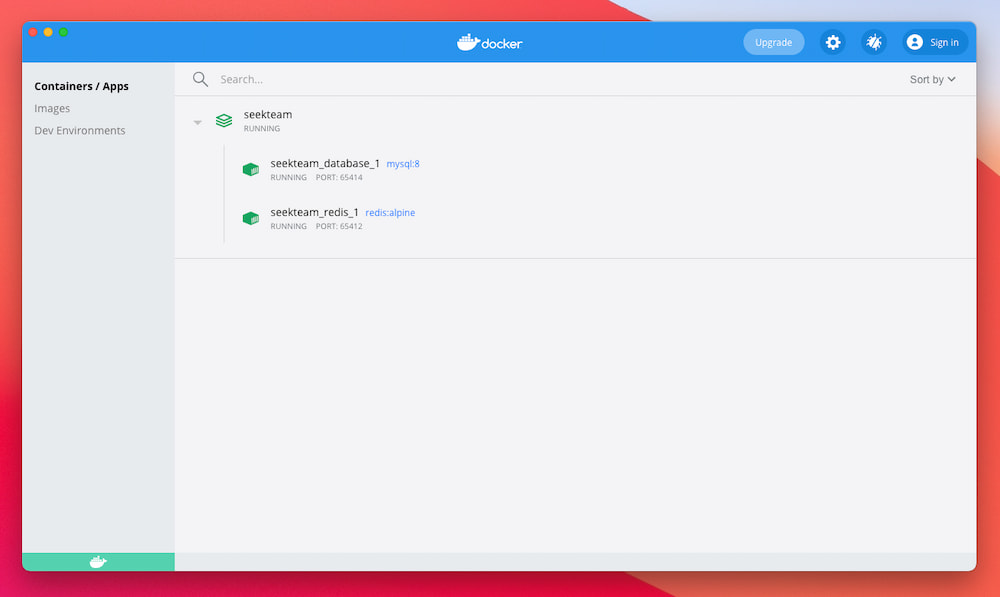
Developing on this new hybrid stack is genuinely pleasant and fast: I get my machine’s native performance back.
Going further
Hugo Alliaume took over the POC I built in August 2020 and cleared every blocker. He tackled the problem head-on and saw the transition through across all of the R&D team’s projects.
He covers the more technical parts on his blog, including:
- A deeper look at the limits of VMs and the workarounds they require
- Why replace your web server / reverse proxy and local DNS with Symfony CLI
- An example
docker-compose.yaml - How to make the most of this development stack in CI, with GitHub Actions
- How to go further with the
manalabinary to make management and maintenance easier (e.g.Makefile)
📖 I recommend reading his post (in French): migrating our development stack to Docker.
Installing the prerequisites on macOS
This section is for macOS users 🍎 who’d like to find all the steps for installing the tools on their machine in one place.
Prerequisites
Install brew, the package manager for macOS.
/bin/bash -c "$(curl -fsSL https://raw.githubusercontent.com/Homebrew/install/HEAD/install.sh)"Install Zsh.
sh -c "$(curl -fsSL https://raw.githubusercontent.com/ohmyzsh/ohmyzsh/master/tools/install.sh)"Installing PHP
brew install php # installe la dernière version stable de PHP, soit la version 8.0.x à l'heure ou j'écris cet article.
brew install php@7.4 # installe php 7.4

brew install composer
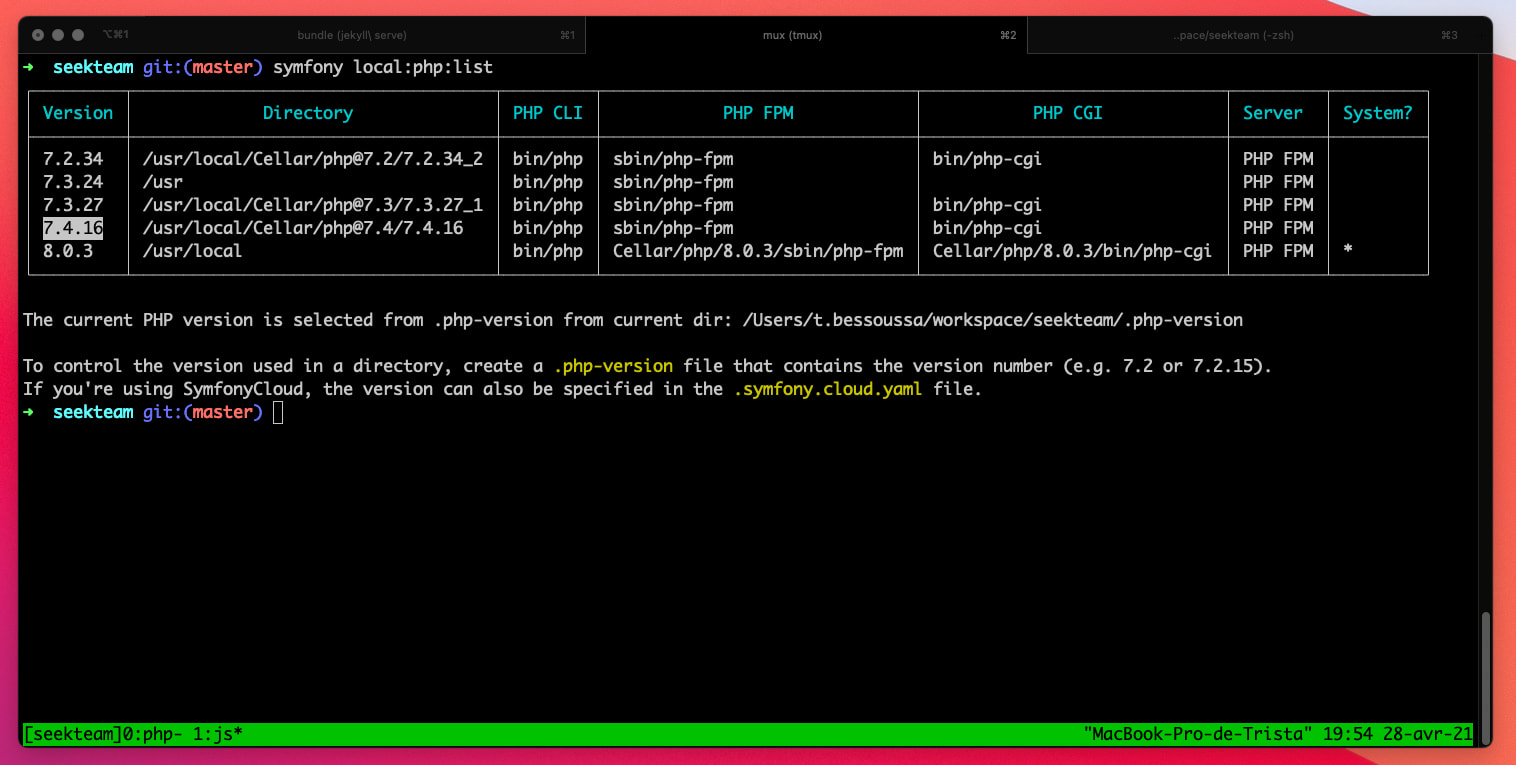
If your projects run on different PHP versions, no problem: install every PHP version they need, and Symfony will use the right one thanks to the .php-version file at the root of your project.
Installing NodeJS
brew install node # installe la dernière version stable de NodeJS, soit la version 16.0.x à l'heure ou j'écris cet article.
brew install node@14 # installe la nodeJS 14

brew install yarn # si vous avez besoin du gestionnaire de dépandance JS Yarn
Same idea for NodeJS: if your projects run on different versions, install every version they need. We’ll use nvm, which picks the right Node version for each project (the version lives in the .nvmrc file at the project root).
brew install nvmFinally, so you don’t have to run nvm use to select the right NodeJS version before your yarn install or yarn dev-server, you can add this block to your ~/.zshrc (then restart your terminal, or run source ~/.zshrc). It checks whether your current directory has a .nvmrc with a project-specific Node version, and uses that version if it’s installed.
export NVM_DIR="$HOME/.nvm"
[ -s "/usr/local/opt/nvm/nvm.sh" ] && . "/usr/local/opt/nvm/nvm.sh"  # This loads nvm
[ -s "/usr/local/opt/nvm/etc/bash_completion.d/nvm" ] && . "/usr/local/opt/nvm/etc/bash_completion.d/nvm"  # This loads nvm bash_completion

# place this after nvm initialization!
autoload -U add-zsh-hook
load-nvmrc() {
  local node_version="$(nvm version)"
  local nvmrc_path="$(nvm_find_nvmrc)"

  if [ -n "$nvmrc_path" ]; then
    local nvmrc_node_version=$(nvm version "$(cat "${nvmrc_path}")")

    if [ "$nvmrc_node_version" = "N/A" ]; then
      nvm install
    elif [ "$nvmrc_node_version" != "$node_version" ]; then
      nvm use
    fi
  elif [ "$node_version" != "$(nvm version default)" ]; then
    echo "Reverting to nvm default version"
    nvm use default
  fi
}
add-zsh-hook chpwd load-nvmrc
load-nvmrc
Bonus: mux and tmuxinator
If you’re working on a Symfony project with JS that needs compiling, you’ll probably need 3 terminal tabs:
- One session running
symfony serve, the web server - One session at the root of your project
- One session running
yarn dev-server, to compile your JavaScript whenever it changes.
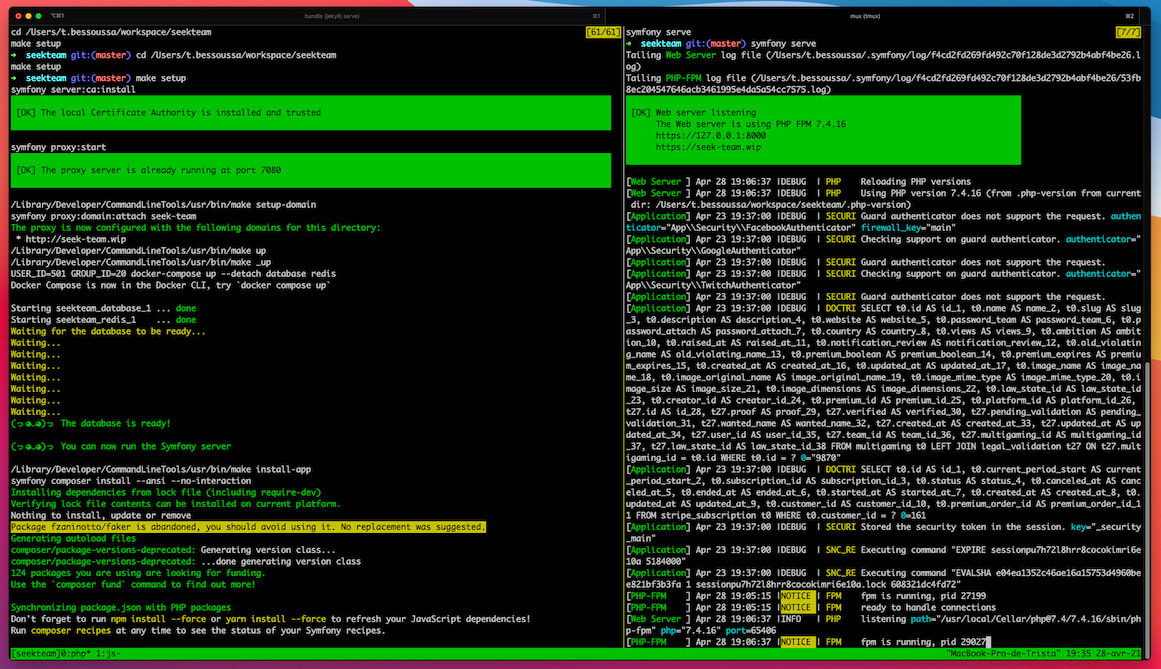
For extra comfort, I suggest using iTerm2 with the tmux terminal multiplexer. It lets you split a terminal window into several virtual terminals. In practice, when I run mux start <nom_du_projet> in my terminal, my containers start automatically, my terminal gets split, and yarn dev-server runs in a virtual tab, as shown below.
To get the same setup:
brew install tmux
brew install tmuxinator
Then add the alias to your ~/.zshrc:
alias mux=tmuxinatorSetting up a project is then pretty basic (with your project’s name in place of <nom_du_projet>):
mux open <nom_du_projet>Then configure your project using the tmuxinator documentation, for example:
# /Users/t.bessoussa/.config/tmuxinator/<nom_du_projet>.yml

name: <nom_du_projet>
root: ~/workspace/<mon_projet> # Chemin de votre projet

# Run on project exit ( detaching from tmux session )
on_project_exit: make halt

# Run on project stop
on_project_stop: make halt

windows:
  - php:
      layout: main-vertical
      panes:
        - make setup
        - symfony serve
  - js:
    - sleep 70 # on attends un peu vu que mon make setup va lancer un build js de dev qui rentrerait en conflit avec le dev-server
    - yarn dev-server
All that’s left is to remember mux start <nom_du_projet> and mux stop <nom_du_projet>, and you’re all set.
Spotted a typo? The original post (in French) is on my GitHub repository.